The Complete Guide to Full Stack Ethereum Development
- General
The Complete Guide to Full Stack Ethereum Development
Setting Up The Project With React And Hardhat
Web3 tech stack that will allow you to build full stack apps on dozens of blockchain networks including Ethereum, Polygon, Avalanche, Celo, and many others by leveraging the Ethereum Virtual Machine (EVM). In this blog we are going to set up the general project structure, installing Hardhat and setting of the React front-end application.
Step 1: Creating A New React Application
First, we’re creating a new React project by using the create-react-app script. To execute this script directly we’re using the Node.js Package Runner npx like you can see in the following:
|
1 2 |
$ npx create-react-app dapp-01 $ cd dapp-01 |
Step 2: Installing Hardhat
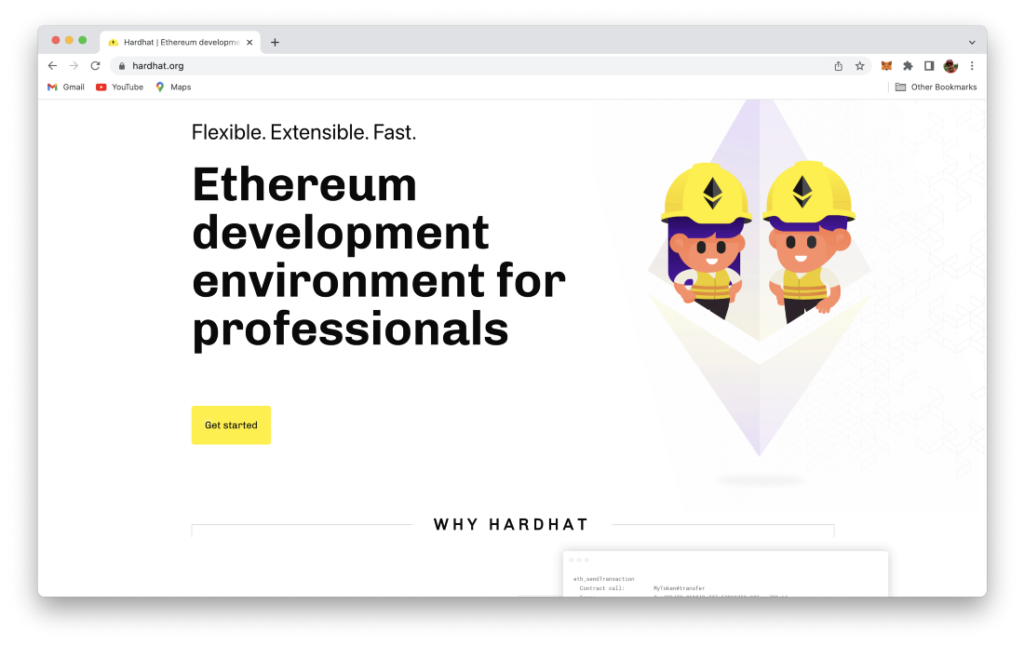
To setup our Ethereum development stack we need to add Hardhat next. Hardhat is a development environment for Ethereum which runs locally. The project’s homepage can be found at https://hardhat.org:

We can add Hardhat to the existing project by using the Node Package Manager (NPM). Just execute the following command in the project folder:
|
1 |
$ npm install --save-dev hardhat |
Once Hardhat is installed we need to make sure that a few more dependencies are added to the project.
Step 3: Installing Further Dependencies
Beside the hardhat package we need to install a few more dependencies by using the following npm command:
|
1 |
$ npm install --save-dev @nomiclabs/hardhat-waffle ethereum-waffle chai @nomiclabs/hardhat-ethers ethers |
Let’s take a closer look at the various packages we’re adding here:
- ethereum-waffle: Waffle is a library for writing and testing smart contracts.
- hardhat-waffle: This plugin adds a Hardhat-ready version of Waffle to the Hardhat Runtime Environment.
- chai: Chai is an assertion library, similar to Node’s built-in assert. It makes testing much easier by giving you lots of assertions you can run against your code.
- ethers: The ethers.js library aims to be a complete and compact library for interacting with the Ethereum Blockchain and its ecosystem.
- hardhat-ethers: This plugin brings to Hardhat the Ethereum library ethers, which allows you to interact with the Ethereum blockchain in a simple way.
Step 4: Setting Up Hardhat
Now that all the needed packages have been added to the project we can start to setup Hardhat in our project by using the following command:
|
1 |
$ npx hardhat |
Executing this command guides you through the process which is required to setup Hardhat. You need to answer a few questions on the command line to complete the process:
After that, we’re ready to start up the Hardhat server which is running a local blockchain. by using the command:
|
1 |
$ npx hardhat node |
As you can see from the output the server starts and also creates a bunch of test accounts. In the list which is outputted you can see the account key together with its private key. Each of these test accounts already has a balance of 10000 ETH. Add those private keys in import token with network localhost:8545 and now can use in any reack application.
For creating a full stack web application refer to this blog
Related content
Auriga: Leveling Up for Enterprise Growth!
Auriga’s journey began in 2010 crafting products for India’s
