Customizing Google Map according to theme
- Digital Engineering
Customizing Google Map according to theme
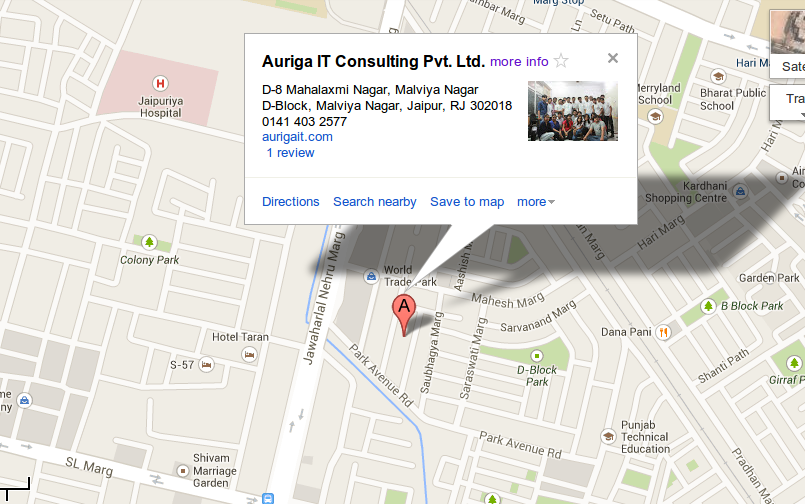
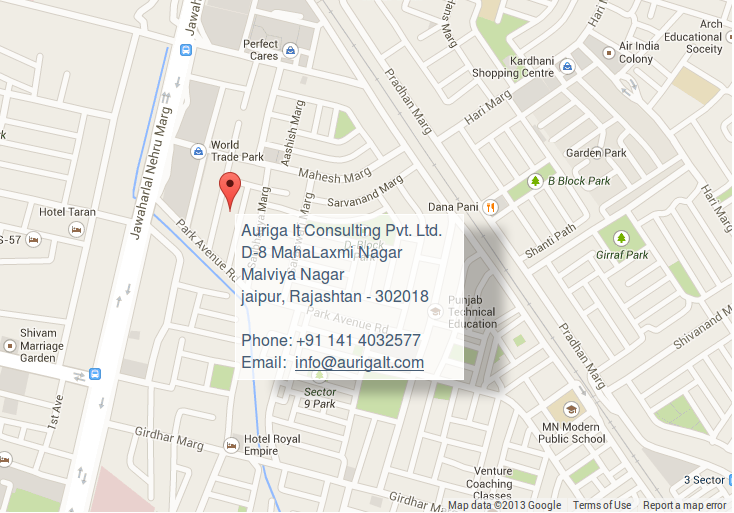
Google map is a mandatory part of almost every professional website contact us page. Google provides map api’s for embedding google map via iframes, but the map marker and infobubble provided has a monotonous design and may not suite to our theme style.
But good news is, the map layout can be completely customized according to our theme.
Process:
Instead of creating an Iframe, we have to create 3 objects.
1. map object
2. marker object (multiple objects in case of multiple markers)
3. infobubble object
Now define each object with specific set of properties to suit our theme using following links
Now we have to wrap all this in a function and call it on page load.
Following is an illustrative example:
<style type=”text/css”>
.phoneytext {
color: #465C74;
font-family: open_Sans, Helvetica, arial !important;
font-size: 16px !important;
line-height: 22px;
padding: 5px 4px 5px 5px;
font-weight: bold;
}</style>
<script type=”text/javascript” src=”http://maps.google.com/maps/api/js?sensor=false”></script>
<script type=”text/javascript” src=”http://google-maps-utility-library-v3.googlecode.com/svn/trunk/infobubble/src/infobubble.js“>
<script type=”text/javascript”>
var map, infoBubble;
function init() {
var mapCenter = new google.maps.LatLng(19.104028,72.893407); //position in lat and longs
map = new google.maps.Map(document.getElementById(‘map’), {
zoom: 14,
center: mapCenter,
mapTypeId: google.maps.MapTypeId.ROADMAP,
size: new google.maps.Size(1004,600) //size in pixels
});
var marker = new google.maps.Marker({
map: map,
position: new google.maps.LatLng(19.117300,72.909600),//position in lat and longs
draggable: true
});
//giving the latitude & longitude coordinate of the infoBubble based on current zoom level
var newlong = marker.getPosition().lng() + (0.00008 * Math.pow(2, (21 – map.getZoom())));
var newlat = marker.getPosition().lat() – (0.000103 * Math.pow(2, (21 – map.getZoom())));
infoBubble = new InfoBubble({
map: map,
content: ‘<div>Some text</div><div></div>’,
position: new google.maps.LatLng(newlat,newlong),
backgroundColor: ‘transparent’,//to enable effects of phoney class
arrowSize: 0,
borderWidth: 1,
disableAutoPan: true,
hideCloseButton: true,
backgroundClassName: ‘phoney’//complete design for info bubble
});
infoBubble.open();
//code to attach info-bubble to marker on zoom event
google.maps.event.addListener(map, “zoom_changed”, function() {
newlong = marker.getPosition().lng() + (0.00008 * Math.pow(2, (21 – map.getZoom())));
newlat = marker.getPosition().lat() – (0.000103 * Math.pow(2, (21 – map.getZoom())));
infoBubble.setPosition(new google.maps.LatLng(newlat, newlong));
});
}
google.maps.event.addDomListener(window, ‘load’, init);//load map on window load event
</script>
<div id=”map”></div>
Note: The latitude and longitudes of a place can be obtained on google map by rightclick on marker and select what’s new.
Related content
Auriga: Leveling Up for Enterprise Growth!
Auriga’s journey began in 2010 crafting products for India’s


