JDK & JRE Easy Installation Steps for Ubuntu
- Quality Engineering
JDK & JRE Easy Installation Steps for Ubuntu
Step 1- Open the terminal window by CTRL+ALT+T. Install the default JDK by the following command
|
1 |
sudo apt-get install default-jdk |
and press enter.
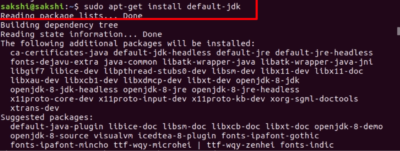
Wait for the file to completely install, when it shows done then move to the next step.

Step 2- Now install the default JRE file using terminal window by the following command
|
1 |
sudo apt-get install default-jre |
and wait for the file to install.

Step 3- Now download the JDK file from the following link:
http://www.oracle.com/technetwork/java/javase/downloads/jdk8-downloads-2133151.html
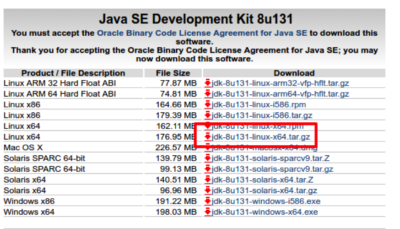
Step 4- Download the JRE file from the following link:
http://www.oracle.com/technetwork/java/javase/downloads/jre8-downloads-2133155.html
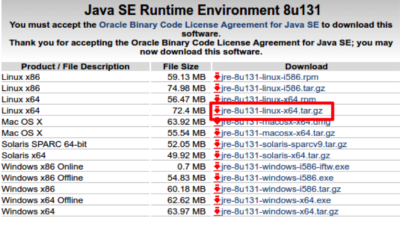
Step 5- After the file is downloaded in the download folder open the terminal window and run:
|
1 |
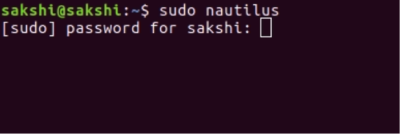
sudo nautilus |
It will ask for the administration permission and you have to enter your system password in it, as you’ll press enter a new window will open.
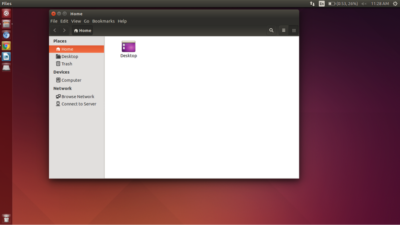
Step 6- Now open Computer->Home->Downloads->Your downloaded JDK file: “jdk-8u131-linux-x64.tar.gz”->right click on this file->Open this file with Archive Manager->Extract the file in Computers/usr/ java
Repeat the same steps to extract JRE file.
Computer->Home->Downloads->Your downloaded JRE file: “jre-8u131-linux-x64.tar.gz”->right click on this file->Open this file with Archive Manager->Extract the file in Computers/usr/ java
Step 7- Once the file is extracted open the Terminal Window by using Ctrl+Alt+T.
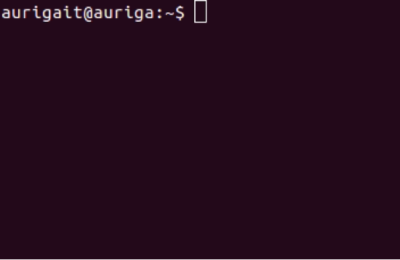
Step 8- Open the terminal and run the following command :
|
1 |
sudo apt-get update |
and press Enter, it will ask for the system password, enter the password and wait for sometime. It will update all the latest packages installed on your system.
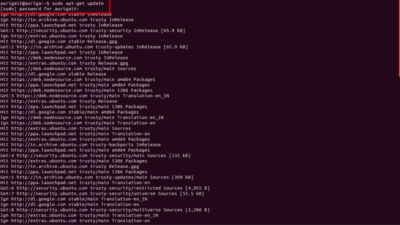
Step-9 After the package lists reading is done, double-check your directories at this point, you should have an uncompressed binary directory in /usr//java for the Java JDK/JRE,
Type the following command to change the directory:
|
1 |
cd /usr/java |
Type the following command to view the list of folders inside the directory:
|
1 |
ls |
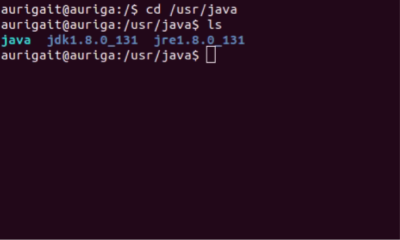
Step-10 Once the directories are checked now it’s time to install the JDK file. Type the following command in the terminal window:
|
1 |
sudo gedit /etc/environment |
Then it will ask you to enter your system password, as you input the password press enter.

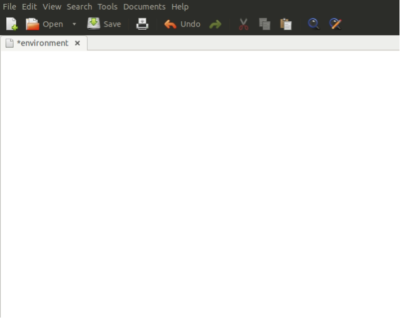
You will see an editor will open:
Step 11- Type the following commands in the editor:
|
1 2 3 4 5 6 7 |
PATH="/usr/local/sbin:/usr/local/bin:/usr/sbin:/usr/bin:/sbin:/bin:/usr/games:/usr/local/games:/usr/java/jdk1.8.0_131/bin" JAVA_HOME="/usr/java/jdk1.8.0_131" export JRE_HOME=/usr/java/jre1.8.0_131 export PATH=$PATH:$HOME/bin:JAVA_HOME:JRE_HOME |

Save the file by pressing CTRL+S and close the window.
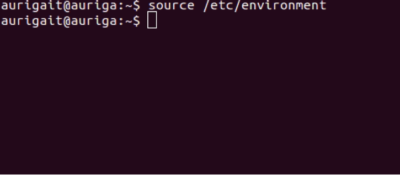
Step-12 Reload the file by typing the following command:
|
1 |
source /etc/environment |
Step 13- Now type:
|
1 |
sudo gedit ~/.bashrc |
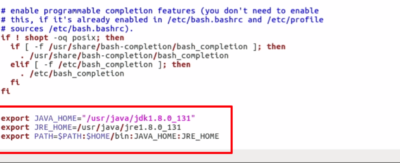
and enter the following path in the editor at the bottom of the page and save the file by CTRL+S or by pressing SAVE button on the top right corner and close the editor window
Path to enter in the file:
|
1 2 3 4 5 |
export JAVA_HOME="/usr/java/jdk1.8.0_131" export JRE_HOME=/usr/java/jre1.8.0_131 export PATH=$PATH:$HOME/bin:JAVA_HOME:JRE_HOME |

Step 14- Now type the following command to reload the file:
|
1 |
source ~/.bashrc |
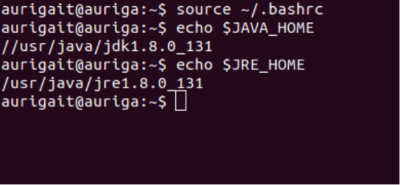
Check the expected results by typing following commands:
|
1 2 |
echo $JAVA_HOME echo $JRE_HOME |
It must display “//usr/java/jdk1.8.0_131” and “/usr/java/jre1.8.0_131” respectively.
Step 15- Now smile, your JDK and JRE files are now installed in your system.
Check your files by typing
|
1 |
java -version |
in the terminal window.
If you get this as a result:
“java version “1.8.0_131”
Java(TM) SE Runtime Environment (build 1.8.0_131-b11)
Java HotSpot(TM) 64-Bit Server VM (build 25.131-b11, mixed mode)“
then you have got all right and your files are successfully installed.

*****************************THANK YOU ***********************
Related content
Auriga: Leveling Up for Enterprise Growth!
Auriga’s journey began in 2010 crafting products for India’s
